
You can create unlimited articles inside a single section and those sections act as the parent doc to those articles. By using the WordPress documentation plugin – weDocs, you can easily do that to rearrange your articles.
Let’s learn step-by-step how to do that:
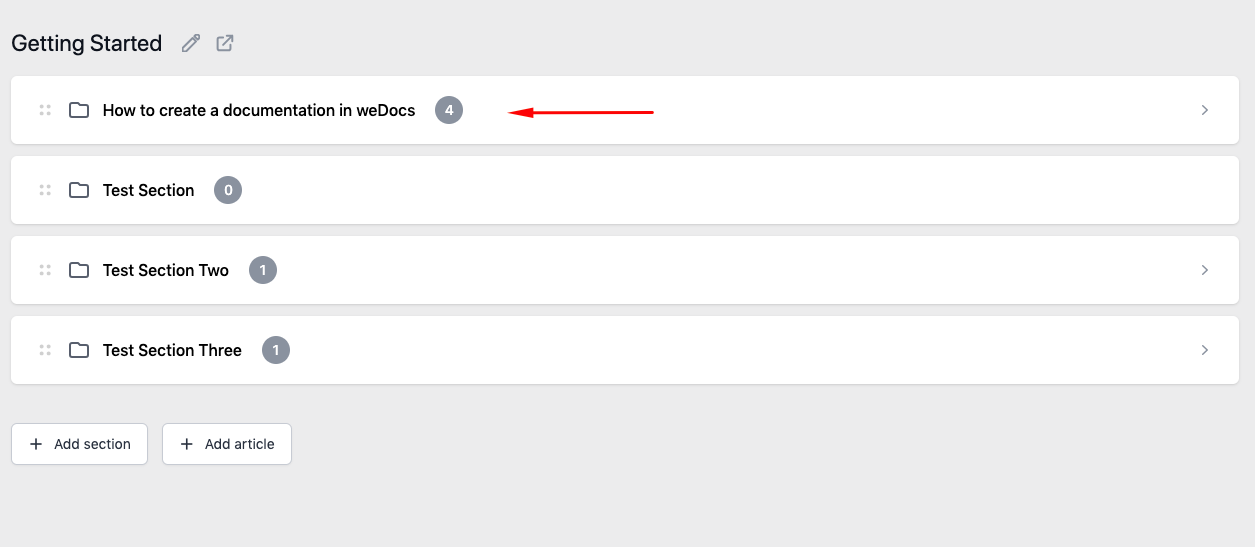
Changing the parent doc of an article
To change the parent doc, click on the section you want to change its parent doc.
Now, in the left-hand side menu under Page Attributes, you will find the Parent Doc option.
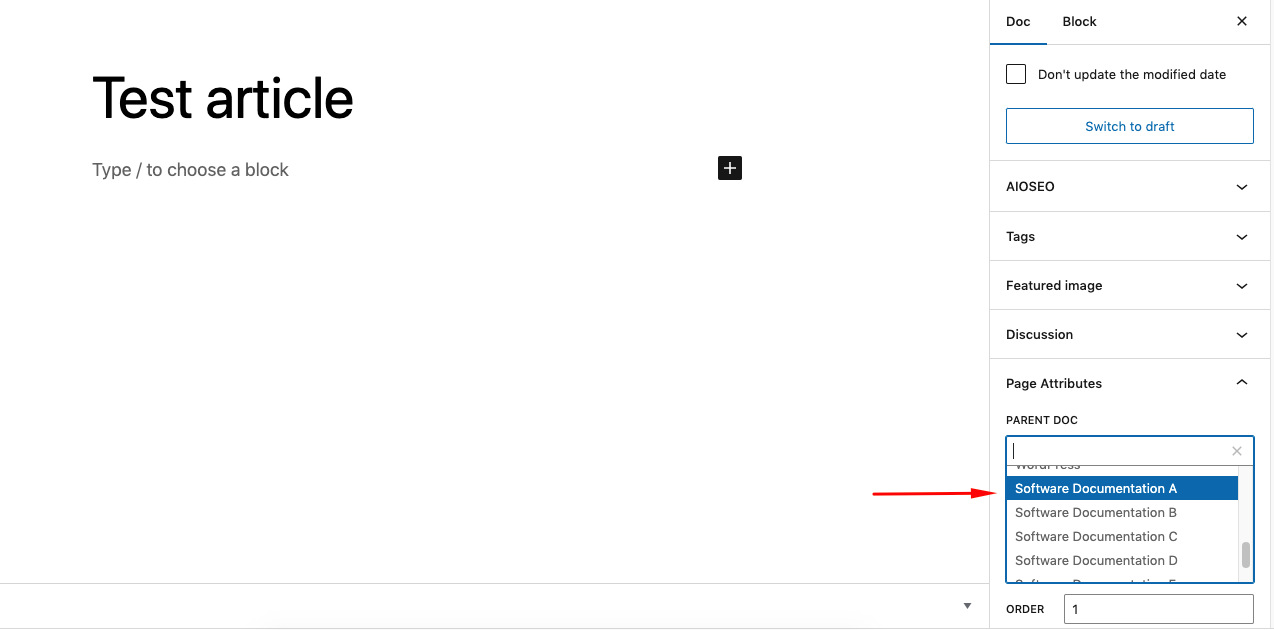
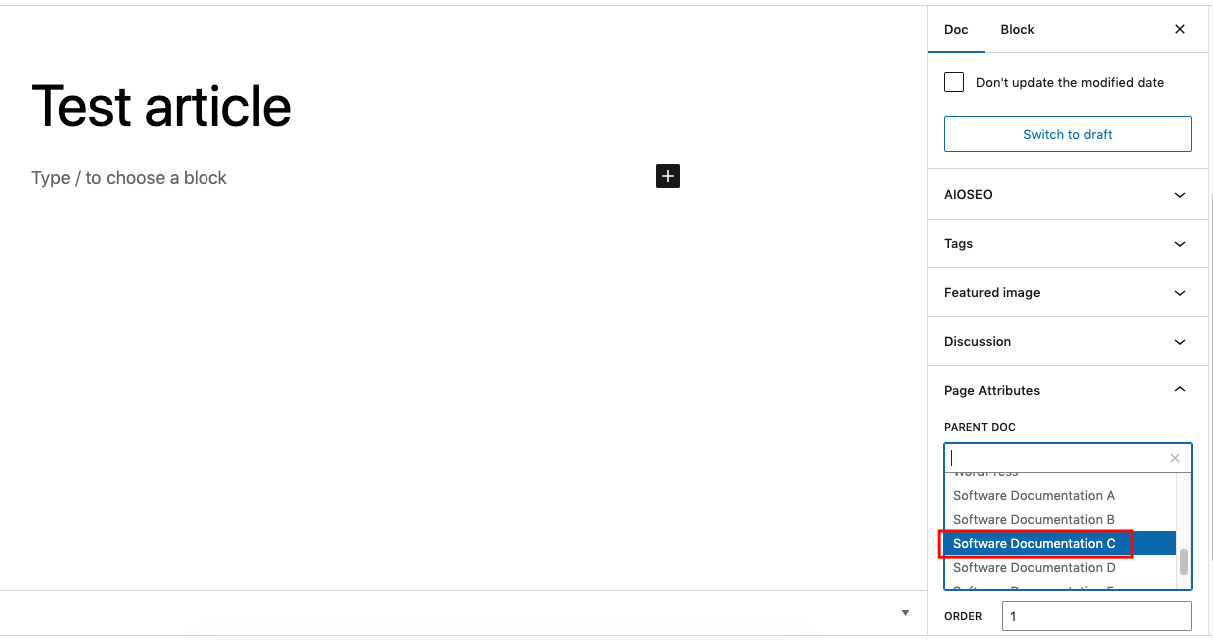
Now, choose the new parent section you want to place that particular doc:
Update the article and you will that this article has a new parent doc in the weDocs dashboard under Software Documentation C.
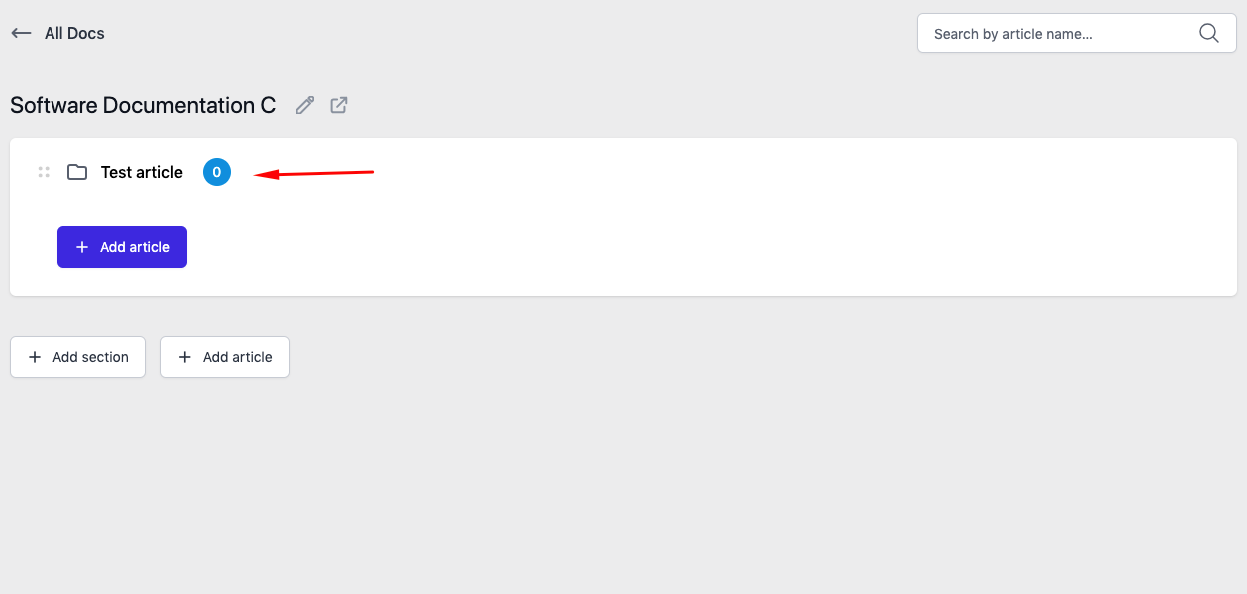
This is how you can easily change the parent doc of any article and manage your documentation easily.